Vintage Makeup Vanity Table Upgrade

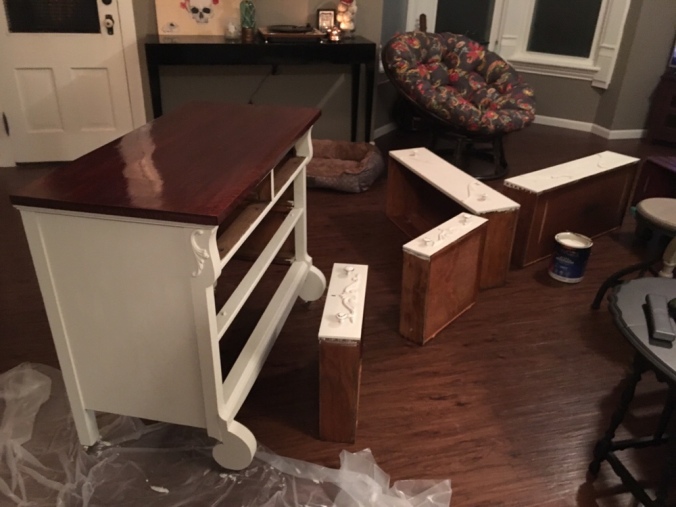
My grandparents frequently drop off furniture or odds and ends that they no longer want or project pieces that they think I would have fun with. This horribly worn down vanity with the mirror was one of these items.

Vintage dresser makeup vanity remodel and upgrade

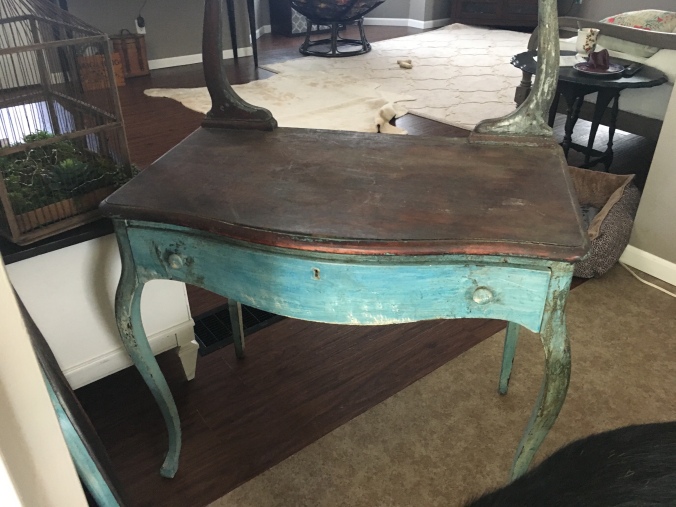
In the beginning it needed a lot of work! I removed the mirror which came off easily and took to using a furniture grade sandpaper to start taking off the layers or old paint that was giving this vanity a very rough texture. I sanded everything including the top wooden part, and this took a lot of time. Sometimes redoing furniture can be such a tedious task, especially when it comes to sanding because it is setting up the foundation of how good your piece will look!

After all that sanding (and there was a lot of it!) I decided why not sand a little more. I found this old chair for $3.00 at a local antique shop and brought it home. It was the perfect height for the vanity! I began by sanding the piece down and priming it before painting it white and using an old grain sack to reupholster the cushion.

Vintage makeup vanity dresser table remodel and upgrade

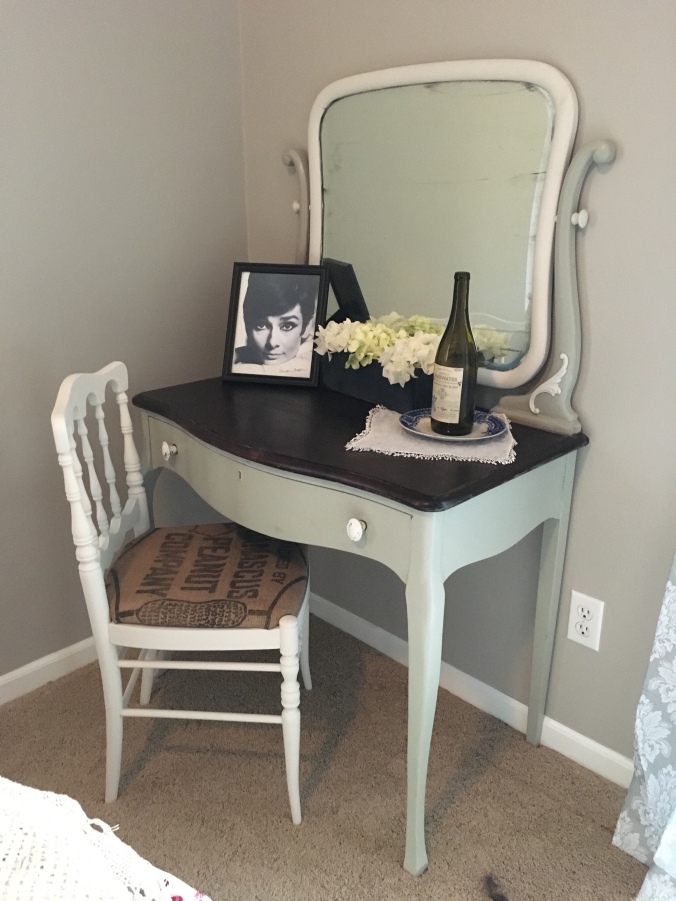
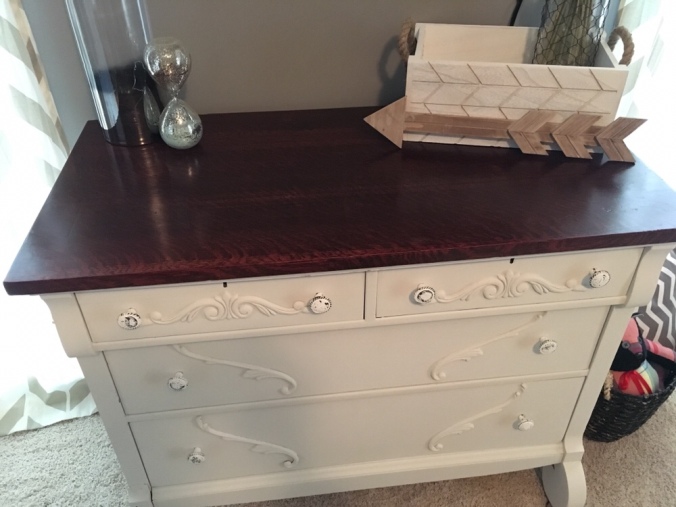
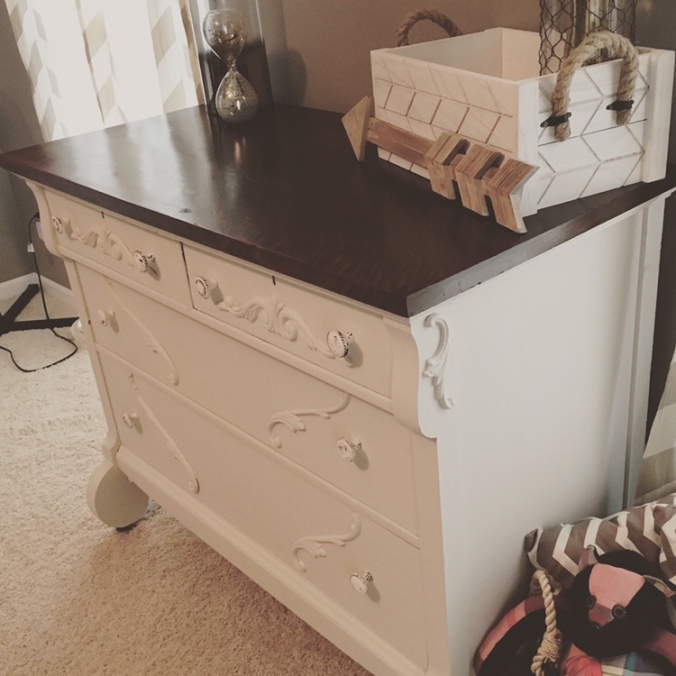
Unfortunately all I have left of this project are the finished product pictures. But after sanding the piece down and finishing the chair I painted the piece in a soft mossy pastel green color, that could almost be mistaken for off white, and painting the mirror in soft cream color. After the paining was finished I went back in and stained the top of the vanity with a dark stain and clear coated the top. I switched out the knobs for some I had found at Hobby Lobby and reattached the mirror.

And there you have it, a simple country vanity that can be completed in a weekend!

Refinished Vintage Dresser DIY

After purchasing my first house a year ago I quickly realized that I was lacking furniture and my home was rather empty! Instead of spending hundreds of dollars that I didn’t have on brand new furniture, I decided to be frugal and green by buying second hand and vintage furniture at local shops and repurpose and refinish them myself. I found that as daunting a task as it may seem, it is way easier than I ever thought it would be and that once you begin to collect the necessary items to refinish furniture like sand paper and paint, it gets cheaper and cheaper to refinish each item.

One of the items I needed badly was a dresser! I found one at a local Amish owned second hand shop for $70, and spent approximately $15 in wood appliqués to help spruce it up a bit. The other items I found laying around my house and had purchased for previous projects.

While maybe not the prettiest piece of furniture initially, I fell in love with the rounded front feet.

To start the piece I stripped it down, gave it a good sanding with a medium grit furniture grade sand paper and wiped it down with a damp cloth. Then I added the wooden appliqués for a decoration with wood glue and clamped them on for 24 hours to ensure that they had dried.

I did the same with the appliqués and sanding to the drawers.

Dresser upgrade diy

After painting the body of the dresser and the drawers with two coats of a white flat paint, and staining the top with rustoleum wood stain in Cherry and clear coating the top it was time to replace the handles and reinsert the drawers. The handles I purchased at Hobby Lobby for 50% off!

Farmhouse dresser diyDIY French country dresser

I think that the finished project turned out great and looks like a much more modern piece of furniture that cost way more than $85!

On to the next one! Stay tuned for more reviews, hauls, DIY’s and overall miscellany!